Other Products Available:
KoubaLink.com
Motorcycle Suspension Components
Installation Instructions
Fits: Honda 86-95 XR250R, 85 XR350R, 83-87 XL600R, 85-2000 XR600R, 93-up XR650L.
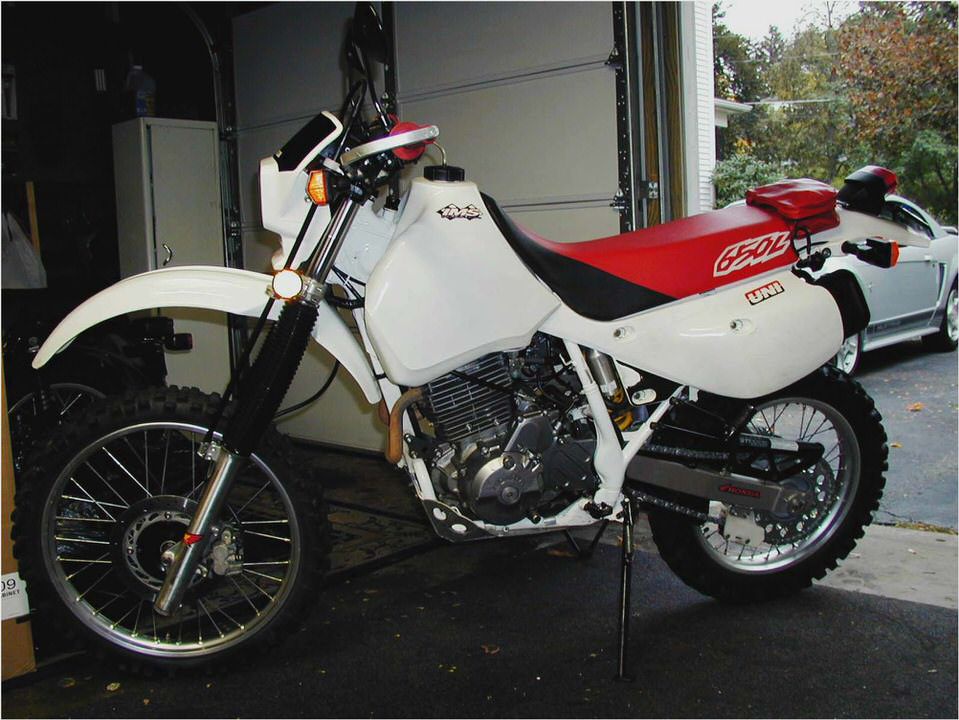
(Lowers rear 1 3/4) XR650L Installed Pictures Below. 1) Raise the motorcycle with a bike stand, milk crate, etc. so the rear wheel is just slightly off the ground. Remove the two 17 mm nuts off the bolts that hold the link to the rocker and the engine cradle, push the front bolt out the right side first. The swing arm may need to be raised slightly to allow the bolt to slide out.
Next remove the rear mounting bolt out the left side. (Chain buffer may need to be pulled down or removed on the bottom to allow the bolt head to pass by.) The link should now drop out the bottom.
2) The new link comes with new bearings and inner sleeves so be sure the sleeves are inside the KoubaLink and that none of the needle bearings have fallen out in transit and are laying loose in the plastic bag. If you find any of the needle bearings have fallen out, reinstall them in the bearings with a bit of grease and you should be good to go as long as all four bearings have a full compliment of needles. Put the four outer seals from the stock link onto the new link and your ready to install the KoubaLink on the bike. **Note: The earlier XR650L KoubaLinks did not come with the inner sleeves so if you have one of those be sure to use the sleeves from your stock link in the KoubaLink.
3) Install the new link by holding it up inside the front and rear mounting brackets on the bike (grease fittings facing down/engraving readable from the right) and push the rear mounting bolt in from the left side first, then push the front bolt in from the right side after aligning the mounting eye with the front brackets. You will have to raise the rear wheel to align these eyes. Install the two 17 mm mounting bolt nuts, and torque to approx. 35 lb-ft.
You may want to pump a little grease into the two grease fittings at his point.
4) For the best performance, set the race sag (amount of vertical movement of the rear axle FROM no weight to bike weight plus rider weight) at 3.5 with rider in full riding gear, standing on the pegs. If the links are for lowering purposes ONLY, sag can be set at 100mm/3.90, and will lower the rear of the bike 1.750 on all the XR650L’s. and near that on all other models.

The easiest way we have found to adjust the rear spring preload is to use a long punch to loosen the top jam nut and grasp the spring at the bottom and turn the spring and the preload nut at the same time. **You may have too put some lube on the shock threads to allow the nut to turn freely. Turning the spring/nut clockwise increases the preload and decreases the sag. Do not forget to tighten the jam nut with the punch after setting the sag.
5) Loosen the eight (four per leg) 12 mm headed pinch bolts on the triple clamps and slide the fork tubes up until they are even with the bottom of the handlebars. There should be about 1 showing from the top of the fork cap flange down to the top of the top triple clamp) Torque the triple clamp pinch bolts to 15 lb-ft. *Disclaimer: Lowering the rear more than the front can change the geometry and could affect the handling, also sliding the fork tubes up too far will allow the tire to contact the fender/triple clamp on full compression, so be careful out there.
If you like what the KoubaLink does for your suspension, please tell everyone, if you do not, please tell us. We can be contacted at our email address below and are always interested in your questions or comments.
Norm Kouba
Email: [email protected]
Ordering info. and pricing can be found on our ORDER FORM.
Right Side View Stock Link 05 XR650L Right Side View After Installation

- The Repsol Honda Team Introduces The RC212V, The Bike For The 2007 World…
- Honda CBR125R – Review – Honda CBR 125R – Its The Bike For The Amateur Badman!
- 2013 Honda CBR1000RR – Honda Vehicles
- Exclusive – Hero Honda To Launch All New Karizma 250R MotorBeam…
- Latest Motorcycle news, reviews & riding tips – RedBook.com.au
