Suzuki Rebuild
The Suzuki Rebuild – a Father and Son project
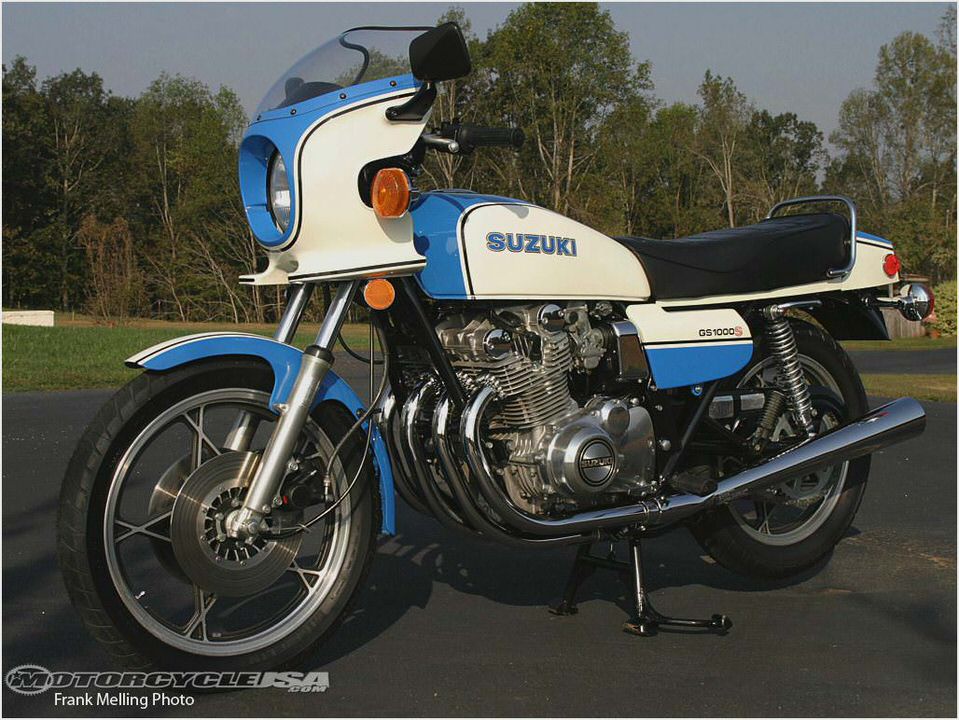
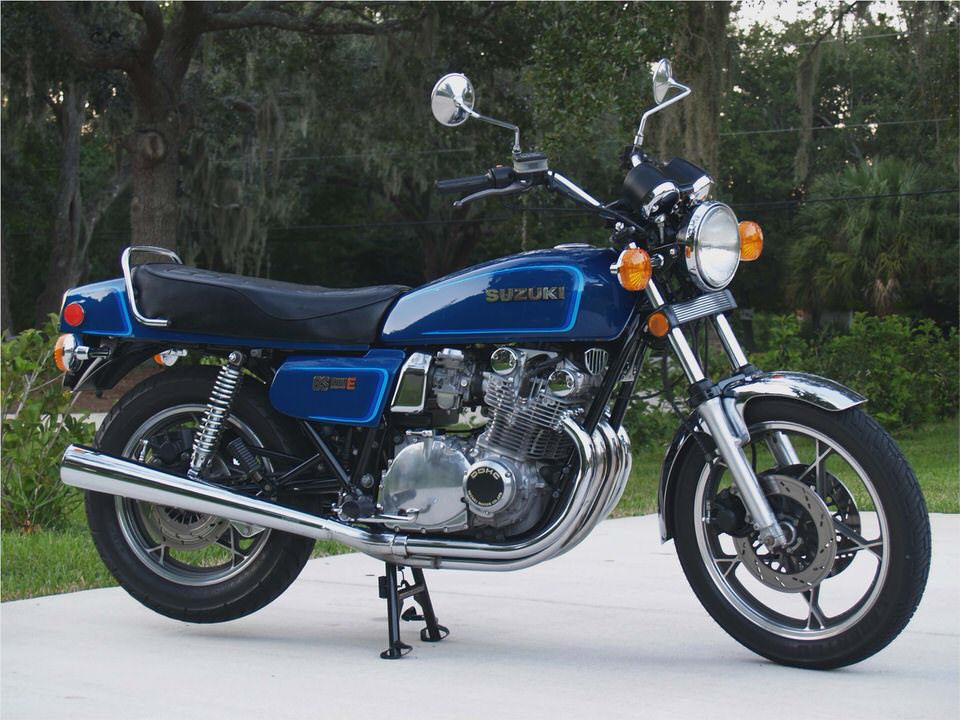
Here is the beginings of the project, a 1980 Suzuki GS1000. The first ownerstarted tocutthe frame to make his version of a "Bobber." When that plan was scrapped, the bike was sold to a co-worker who took the engine to replace his blown GS850 engine. So here is whatwe Started with; a cut frame, Blownengine, noexhaust, battery or seat.
Started out by repairing the frame – used some 7/8 inch handlebars which fit into the cut-off frame nicely. Cut them to size and then with some sheet metal, we built a fender bracket for the frame. This would be to hold the rear farring.
Painted them up and rivited into place.
Here is the rear farring set into place (before painting the back end frame)
Tore down the engine and replaced the bad head gasket (My son holding the bad gasket)
With the engine back together, and some valve adjustments made, goodcompression it was time to mount it in the Bike
Starting to look like a real bike now. Next the carberators were installed and then the airbox
An exhaust system was picked up on e-bay, a lot of pitting and rust was sanded off the header pipesthen the pipes were painted with High-Heat black paint.Hope they can fit since they came from a 1982 bike
Here is the partially finished product, still have to mount the pipes, but everything so far has been installed. Still waiting on the seat, picked one up on e-bay,definately not what we wanted, but it should work until we find something else. Just waiting for it to come in.
After some manulipiating, bolting clamping and few other minor modifications we managed to get the 1982 exhaust bolted onto our 1980 bike. A few trickeswere learned1) remove the kickstand – it gets in the way and 2) new exhaust bolts work great. The new bolts were 1/8 inch longer than the ones that came with the bike and were just long enough to catch some starting threads
Here is what the project looks like right now. The pipes have been installed.
Next we have the seat. As mentioned before, not what we wanted, but it’s better than a pillow and bundgie cords. We will keep our eyes out for a better seat but for now this will make it rideable.
The seat came with no mounting hardware, so now comes some creative construction on our part
We didn’t want to cut into the leatherseat covering or drill out the rivits holding the seat coveringin place, so steel mounting brackets were attached to the mountinghardware and it was then rivited into place.
Here is the seat mounted and ready. The family has been refering to this as the "Ugly Seat"
Some finishing touches and we are are almost there.
Here is the complete bike, with some issues:
1)High idle,hope its just a throttle cable adjustment
2) Serious oil leak from the vlave cover end caps – more tearing into the enging to come.
Waiting on the parts for the engine, but the Idle problemwas taken care of bysome adjustingthe throttle cable. Oil leak still there, we decided to take it out for a test run.
My son’s first ride was nice; but, we had problems with the engine speeding up when making right hand turns. The problem was traced to adamaged/broken throttle cable.
We now havenew valve end plugswhichshould stop the oil leak, and another teardown of the engine underway. This time only thevalve coverneeds to be pulled off
Removed and scrapped out the melted rubber around where the old the valve end caps used to sit, then they were replaced with new ones. Once these were replaced and the valve coverwas retightened.
The throttle cable was replaced while we had the tank off, but I failed to get pictures of that process. Now the bike should be ready forher next road test.
The road test went well -no more dripping oil problem, we no longer need to place a bucket under the engine when we stop. We still have a slight problem with higher RPMs when turning right, but not as drastic as before. Since most the steering is done by leaning this only presents a problem when backing the bike out to turn itaroundwhile the engine is running.
We will work on re-routing the throttle cable over the winter.
All was well until disaster strikes yet again. This almost went unnoticed until playing with the throttle cable.
One of the fuses "blew" but still allowed current through producing the obvious results andMelting theFuse box. After testing the fuse box and surrounding components to make sure everything was still in working order we went on to search for the short.
Finally the problem. After about 4 hours of searching and testing, these two bad boys weremeltedtogether (from the heat of the engine I presume) and shorted against the frame. All is fixed now with some electrical tape over the connections and better wire placement.Also cleaned up some of the 30 year old connectors while doing the troubleshooting.
The melted fusebox was then replaced with one we found one-bay
Dad wanted a sissy bar/backrest for Mom so she could enjoy the ridescomfortably, after fighting with a seller off Ebay the sissybar was finally shipped. Forgot to take pictures of assembly because we were fighting to get it on before a ride. Nonetheless, It went on without a hitch.
Now were just missing some hardware that keeps the seat from sliding forward into my back.
Dad bought himself a new bike to better fit him and mom on the longer rides (a 2005 Suzuki BoulevardC50). The GS1000 has passed into the sons hands.
With limited funding a seat was purchased off e-bay; a lot of rust, torn vinyl and worn foam to tend with, but we should be able to make it work. Worth trying to make it work for the 5 dollar investment.
The worn foam was cut down and replaced with some compression foam,A Vinyl seat cover is being custom made (a lot of hand stiching on Dads part),it should fit over the seat nicely
The rust on the seat is being removed (a lot of wire brushing and some cutting).Steel sheetmetalwill becut and bent to fitand replace the rusted out areas
Doing our best to keep the seatpan in it’s origional shape so the seat foamwill fiton the Pan
After putting the seat back together, the cover was attached; a lot of streaching and then clipping to the teeth we made out of the sheet metal
.
And here is the installed seat
One anxious rider waiting for the Snow and Ice to melt; don’t be fooled by the flip flops.

- 1966 Suzuki T20 Hustler Pictures and Specs Motorcycles Modification…
- 1/24 Tamiya Suzuki Gemma 50 The Sprue Lagoon
- Road test: 2007 Suzuki DL-650 V-Strom Driving
- Suzuki Intruder M1800R… The King of the Road’s Review
- How to Change the Oil Filter on a Bandit 1200 eHow

