MY SUZUKI GS850 PROJECT
started 25/09/1998-18/09/2001
Before it was dismantled
When I started this it was just going to be a clean it up and use it project
but 3 years and пїЅ3,000 plus pounds later it’s nearly finished.On this web site
I will attempt to catalogue the order in which the restoration has taken place.
The following is how the project has progressed and the pit falls that have
been encountered.
Appearances are deceptive.
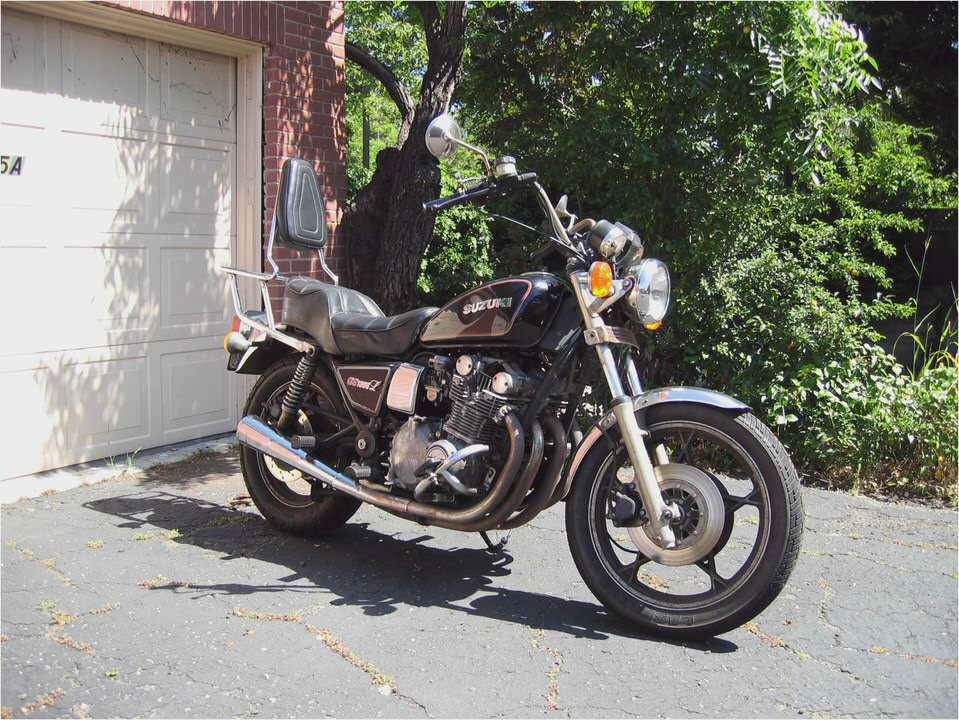
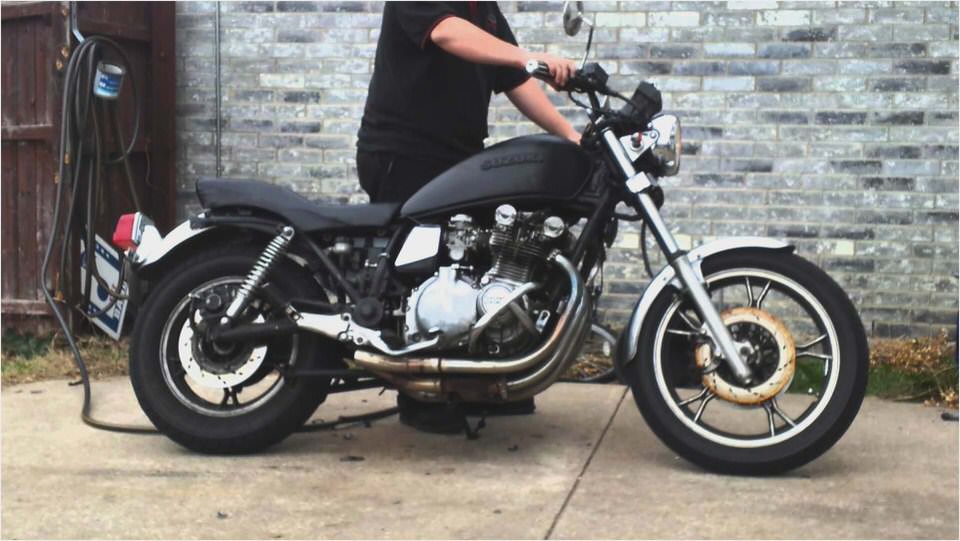
This is how the bike looked when I bought it.It doesn’t look to be to bad does it
(1st pit fall)its when you start to take it apart to clean it you see that it has
been given alot of attention to polishing it but very little attention to the maintaince
part of the business,this is when the decision was made,wouldn’t it look good if was restored
to its orginal condition.With a set of original exhausts instead of the four into one that had
to be removed with an angle grinder,to try to save the cylinder head,it had to be cut through
just below the exhaust flanges,the head was removed with four stubs of pipe protruding from
it.I was then able to use heat and plus gas to enable the flanges to withdrawn from the head,
three of the bolts sheared in the head and had to be drilled out and helicoils inserted.
From then on the rest of the dismantling was relatively straight forward until the bottom right
hand Engine mounting bolt head sheered off,this left a stud end frozen in the bottom crank case
with the cam nut trapped in it’s recess.With very little of the stub protruding a fair amount
of heat was applied to the crankcase hoping that the alloy would expand quicker than the mild
steel.Unfortunatly this did not work even after trying gentle persuasion with a hammer.The heat
treatment continued for a couple of days with no success,it appeared that another way
would have to be found,the stud was 10mm and the hole was 11mm I made a tubualar tool with a
saw tooth end,this was hardened and put into a slow speed drill,for two days I
slowly bored down the outside of the stud until I was able to undo the stud from the
cam nut.The tool was re-hardened on three occasions.With the hole now over size I had
The next job was to ascertain the state the engine was in it had 50,000 miles on the clock,
I had ridden it home and apart from a small misfire it had sounded ok.So I stripped it
down the bores measured up well and so I decided that the best thing was to have the bores
deglazed and new set of standard rings purchased along with a complete gasket set.All the
casings barrels and the head where taken to RD Cox sons just off the M4 jct 11 these
were vapour blasted and the crankcases repainted.Every nut bolt and washer(that hadn’t broken)
was taken to Swinnards at Tunbridge Wells.These were zinc passivated and came back
looking better than new,this also included any springs and clips plus some chrome plating.
After vapour blasting and respraying.
The fork legs were so pitted that the seals had been torn and were leaking badly these were
taken to Central Engineering at New Hythe in Kent for grinding and hard chroming.This has
restored them to as good as good as new.Although this proved to be quite expensive but it was
at least half the price of new legs.The next thing to tackle was the state of the bearings in
the engine,these engines have reputation for being bomb proof and as for the big end and main
bearings these all proved to be up to spec,on examination the gearbox bearings were starting
to show some wear.Surprisingly these were not as expensive as I would have expected.In total the
price was around пїЅ90.00 for the five bearings and all the seals.All this was put to one side
while the frame and other parts were stripped cleaned and prepared for painting,the frame was
stove enamelled by a company at Crayford in Kent called Colortech they normally paint custom
push bike frames,I originally intended to powder coat the frame,but now seeing the results
of the stove enamel finish compared to powder coat finishes I have seen I’am glad that I
took their advice.The tank had been touched up with areosol cellulose and the slightest
petrol spill caused the paint to disolve and smudge,this mean’t a respray,No problem I
thought just order up the tank decals respray and that will look good.By now for some reason
this had turned into an obsession to restore this bike to it’s original state as it
left the shop in 1979.
The company I have obtained a lot of my parts from are Robinsons of Canterbury they hold
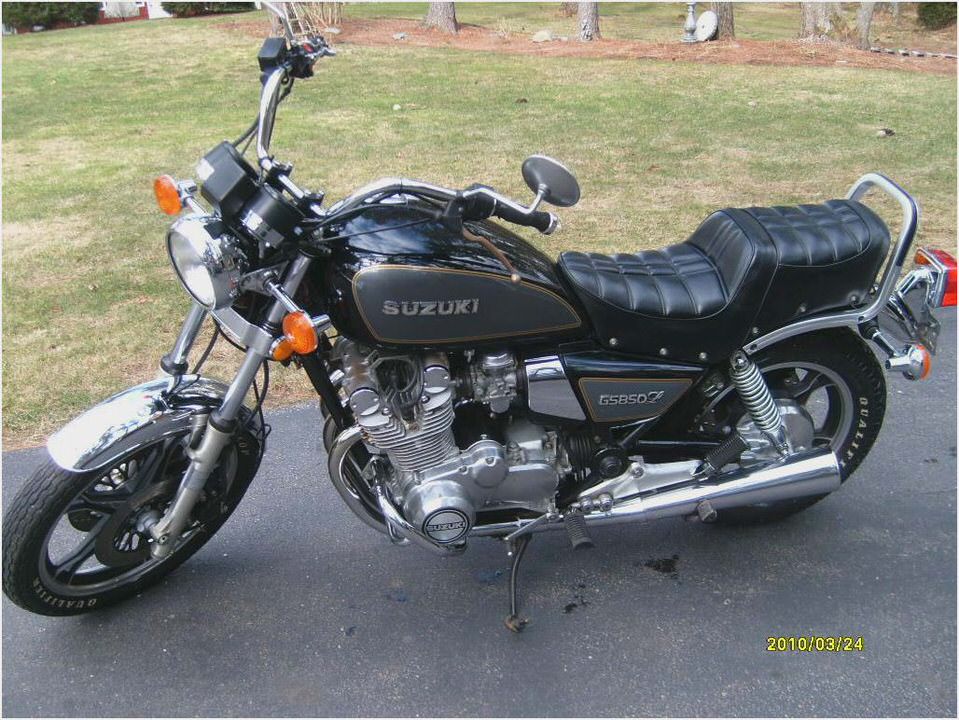
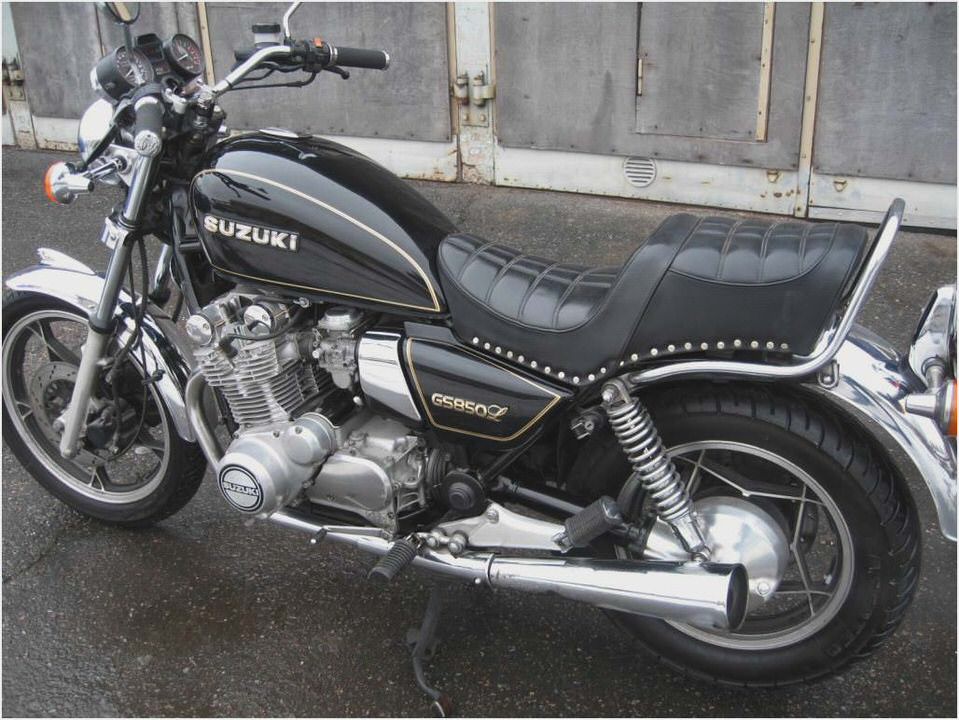
a good stock of parts for the older Suzuki’s, but when I ordered the decals for the tank
the answer was that they are no longer available not even from the factory,undetered
I thought I’ll get someone to make them.Everybody in graphics can make them providing you have
got a pattern.Mine were on a tank and had bits missing,no point in being obsessive just carry
Progressing towards reassembly
Almost ready to put in the engine
This was June 2000 yes its in the lounge.
Someone had the bright idea of having an extension built all that dust! thats it the bikes
in the lounge for the duration nothing was done for over five months what with the
extention,holidays,and lack of cash things slowed down.But were on the move again now and the
wiring loom is on and working with a new battery in place the next job will be to fit the
Nine months later.
The exhausts have been fitted and the battery charged but it was reluctent to start,it turned out that the earth on the Boyer Bransden electronic ignition was making a poor connection with that fixed it ran but albeit very lumpy and missing,I was still not very happy with this because it was timed on the correct timing to mark for it to run. this will hopefully be sorted when the timing is ironed out and the carburation has been set up properly it will run a bit more like it should.The
uneven running continued,time to go back to the drawing board and check everything from the begining. After checking through again all the connection had been resoldered with new connections but were checked anyway,then what’s this the pulse generator leads are black and white and up the top by the frame the black one’s into the white and the whites is into black whoooops. lets try that the other way.
EUREKA SWEET AS A NUT
The intermitent misfiring continued, with the the only compnenent part of the ignition system being the Boyer-Bransden black box and the wiring the next thing to check would be the box its self. This was done by a visit to their place near Detling Nr Maidstone in Kent, They tested the box by setting it up on their test rig, at the time the chap who tested it said that it was about fifteen years old .At first it worked O.K (worrying I thought) and after about another thirty seconds it started to breakdown,The reasonable sum of around forty pounds inc V.A.T purchased me a new one. Once installed and a timing light with an electronic rev counter (borrowed from a work colleague) it was a different engine, it was smooth and it started as soon as the button pushed.
The petrol tap was a mess the vacuum diaphragm was jammed solid. This all had to be dismantled and cleaned and refitted to the tank ,new tank badges were bought and fitted, the seat was fitted. I have been riding the bike for most of the summer (fine days only of course) and have enjoyed it very much, although using a Bandit for day to day transport for work you can certainly feel the twenty year gap in the technology.Especially where the brakes and suspension are concerned,performance has been a bit lack lustre and starting was o.k but the battery,although new was sounding abit tired.It turned out that the regulator/rectifier was dead with this now replaced what a difference the afore mentioned twenty year has shortened considerably!!
The only remaining things to do are to have the tank resprayed because of a leak in the front brake master cylinder which all blew back onto the tank whilst riding it. I new I should have fitted a repair kit when I restored it. The adhesive decals can then be applied to the tank side panels and rear light cover.I have enjoyed this restoration,the one thing that I have enjoyed the most is the nice people I have met along the way see below.
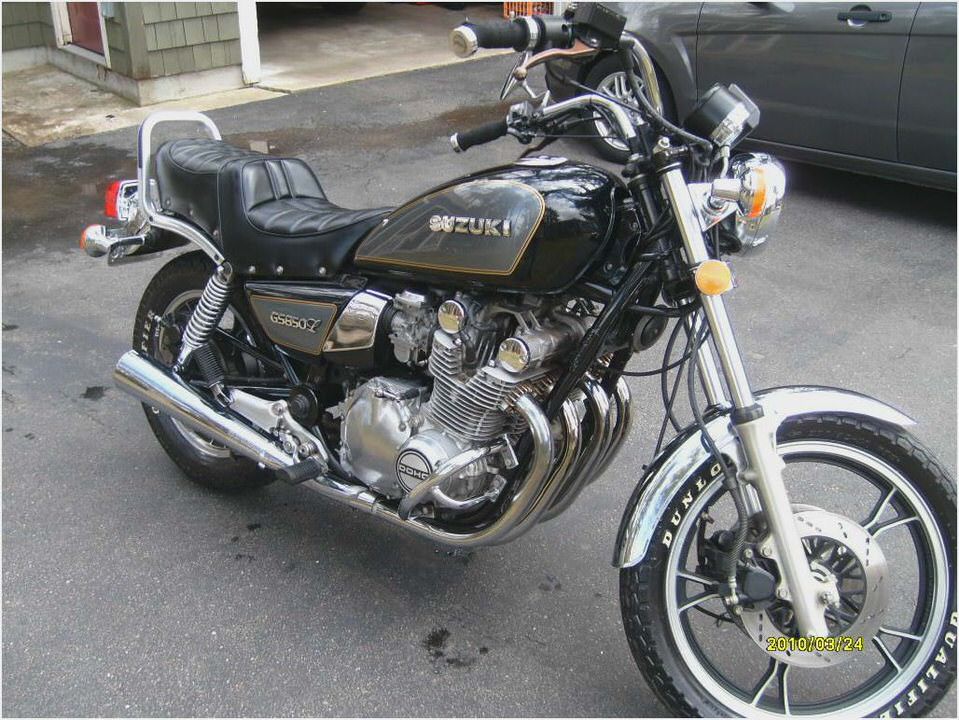
The recently added picture is with all the decals fitted only three years to get round to it, still looks good although it only does dry miles,except when the weather forecast is wrong.
THE FINISHED 1974 TS125L
This is the 1974 TS125 L Mentioned earlier now finished after 3 years of fun well sometimes anyway
This project was all my own work except for the frame which was stove enamelled by the guy that did the GS for me. I personally like the stove enamel finish it looks like glass tube,but be wary it will chip if you drop a spanner on it.The reason for this restoration is my wife has decided that she would like to learn to ride so this March she does her CBT.
The next project is a 1977 Norton Commando 850 Interstate hopefully this won’t take to long as it has been partly done
1977 NORTON COMMANDO INTERSTATE
Well here it is with Norman White belt drive and clutch engine Mikuni 34mm carb RGM front master cylinder.The finished article well almost.Based on a Venom clubman using Viper crankcases double damper forks Stevens top yoke and lots of other bits and peices.
CREDITS. With thanks to :- Mike Drew friend and Velocette expert and enthusiast, Many hours problem solving and assembling. Nick Cook of Aichee Engineering for parts made in stainless steel Bob Husband of Braintree many E’mails of info. Inox fasteners.
Robinsons Foundry Canterbury.Genuine Suzuki parts. Bran Bardsley.Genuine Suzuki parts. R D Cox of Reading for the excellent restoration of the crankcases vapour blasting and Painting.
Swinnards of Tunbrdge Wells,for chrome plateing and zinc passervation. Dave Crowe of Colourtech (Crayford) for the frame enamelling and other parts sprayed. SUZUKISIMON For a new set of pipes and silencers,new front calipers and other part not stocked by the above.
- Honda XR250L vs Suzuki DR-Z250 – Motorbikes Reviews, News & Advice – b…
- 2010 Suzuki GSX1250FA road test review – Road Tests: First Rides – Visordown
- 2003 Suzuki Burgman 650 – New Super Scooter (01 Jul 2002)
- Test Comparatif Suzuki Burgman 125 VS Piaggio X9 125 Motors TV
- Suzuki Katana – Wikipedia, the free encyclopedia
