How to build a Rally bike
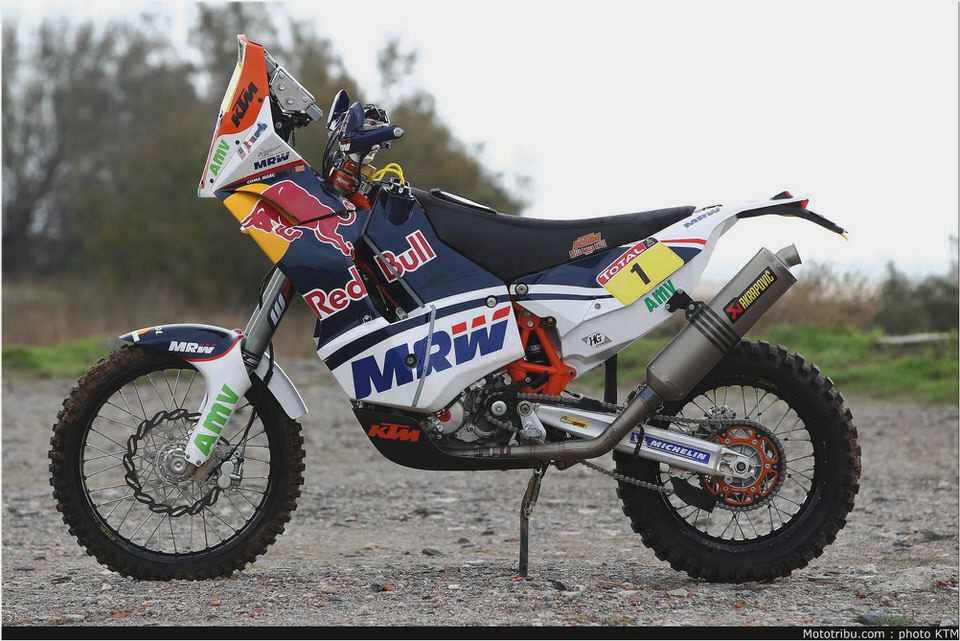
In this post you will see how I build my Rally motorcycle. Not from scratch, but with a solid basis: a brand new KTM Enduro motorcycle. As you will see the modifications are substantial and the number of tailor made parts to. On the internet you will find a number of professional rally bike builders (such as Meca’System and Rally-raidproducts) and a large number of people on forums who have tried to do it themselves.
I like to share my version with everyone who wants be inspired to build there own Rally bike.
The Bike: KTM 690 Enduro R
It all starts with a solid basis for the project: the bike. I choose the KTM 690 Enduro R for its combination of power and durability whilst being relatively lightweight. I”ve looked at the KTM 530EXC for it’s lightness, but this bike would need a larger fuel tank which -in combination with other parts it missed in standard configuration- would add so much weight the difference with the 690 was reduced to only 13 kg.
So here it is, the brand new bike.
Considerations:
What to do? Where to start? So many options… I knew I wanted a high rally fender to be able to enjoy the protection against the wind on long and fast stages.
Furthermore the roadbook holder, ICO, navigation and digital instrumentation should all behind the fender. Nobody makes something like that, so the only option was to custom built it my self.
Lucky enough a friend of mine owns a KTM 690 RR Factory replica which I used to copy some parts. This motorcycle is far too heavy for technical enduro and rally stages due to the almost extreme fuel capacity. My version of the KTM 690 didn’t need extra fuel tanks because it runs over 170km on the standard tank in competition cercomstances.
On the road it will be able to reach up to 250km on the same 12 liter fuel! After the bike was finished, I attended the 2010 Dresden Breslau, the autonomy of 170km was sufficient. See how the bike was build and take a look at the details.
Rallye Fairing:
I purchased the fairing from an Italian guy called Alberto Dottori because it looked good and it was relatively cheap. When I finally got it, cheap was the only thing it was; the shape was bad, it didn’t fit properly and Mr. Dottori didn’t use any gel coat, so it was full of small holes and impossible to paint.
What a disaster. After redesigning the points of attachment on the bike, I ended up making a mould to be able to make my own fairing. From a distance it looks the same but it isn’t, believe me.
I changed the way it is attached to the bike completely and used quick locks from the KTM factory rally bike. The head light (a halogen version from the old 690 Enduro model) is fitted to the fairing. Here you see the first fitting of the fender on the bike:
Welding the frame:
If you take a closer look at the KTM 690 Factory Rally bike, you will see a support which is welded to the steering head of the frame. This piece of metal carries the rally tower, a light-weight, robust and good-looking part which is laid out to fit the instruments and bear the fairing with head light. I used Steel52 for this part to match the Chrome Molybdenum steel of the bike’s frame. The actual welding was commissioned to a specialized company.
The complete bike was stripped at the front and all wiring, CDI, battery and sparkplug were disconnected. The welding destroyed my frame number because the number was only smashed into the paint, not into the steel. It was a lot of work and it took some precise measurements, but after painting it looked like this:
Rally tower and support:
All instruments including a toolbox would be placed on the rally tower. The incorporated materials would have to provide stability at race speed and are therefore a mix of OEM parts and specially made parts. It took me a long time to figure out where to put everything.
The Dakar Rally bikes always have the Sentinel and Iritrack which are mounted on top of each other on the handlebar. The roadbook holder is therefore placed in a very high position. This will increase the visibility and is necessary to be in line with the Iritrack/Sentinel. Downside is the higher point of gravity and vulnerability in case of a crash. I choose to have the Roadbook, ICO and KTM instrument on one frame and a separate spot for the GPS on top op this.
Both holders are rubber damped. The rally tower also holds the fairing with rubber dampers on both side. Mounted together without the fairing it looks like this:
The standard bike has two accessory 12v wires behind the headlamp, one after ignition and one continuously powered. I used both and wired them to a fuse box with four fuses. Roadbook holder, ICO, GPS and 12v socket are powered and fused separately.
The road book holder and ICO are connected to a combo remote on the left of the handlebar. The original light switch (with indicator switch) is changed for a smaller CEV switch. I also fabricated a map switch to adjust the throttle mapping.
This self made electronic device is connected to the socket under the seat where the original mapping switch was located. Now I can change the mapping easily, unfortunately still not ‘on the fly’; the CDI unit has to “read” the resistance when the ignition is tuned on. On the right of the handlebar I placed the remote switch for the KTM instrument. For rally purpose an extra taillight (same as the KTM 450 factory rally) was mounted on the rear fender.
By using a relay it was possible to get it operated properly. Last but not least the sidestand safety switch was disconnection by fitting a KTM powerparts device and connect it to the switch wire. Warning: never disconnect or bridge the clutch switch, the bike will think it runs idle and runs on a different mapping.
Engine and exhaust:
There is not much you can do to improve the engine of the 690. I replaced the paper air filter with a large foam filter and needed to upload a special open-air mapping. This was also necessary for the bike to deal with the new exhaust. I lost the standard exhaust because it was very heavy and also dangerously hot.
The new stainless steel one is quit, light and cool.
Other modifications:
new thermostat switch for one that starts at 88C in stead of 105C to prevent the engine from overheating in arduous conditions.
new fuel tank filler cap with hose on aluminum neck from Rally-Raid products UK
Scotts/Ohlins steering damper for stability in sandy conditions,
Underground Machine USA 2 inch handlebar riser,
Progrip foam rally grips,
Acerbis spoilers on the hand guards,
PHDS: progressive handlebar damping system
cable protection,
Touratech crash bars to protect the radiators,
Flatland Racing USA aluminum engine guard,
Touratech brake cylinder guard,
clutch guard to protect the slave cylinder in case of a broken chain,
brake pedal cable (brake snake),
repositioned the horn,
replaced the wheels for lighter and narrower Thalon wheels with excel rims and aluminum hubs,
lost the indicators, mirrors and large number plate holder,
upholster the seat with leather
…. and much more: details, details, details.
How does it cope in a 8 day rally under extreme conditions?
Remarkably well I have to say. Of course I managed to solve some issues before attending to the rally, after they appeared during one day events. After a bad crash the aluminum bar riser (the piece that holds my steering damper) was bended badly and my fender was cracked.
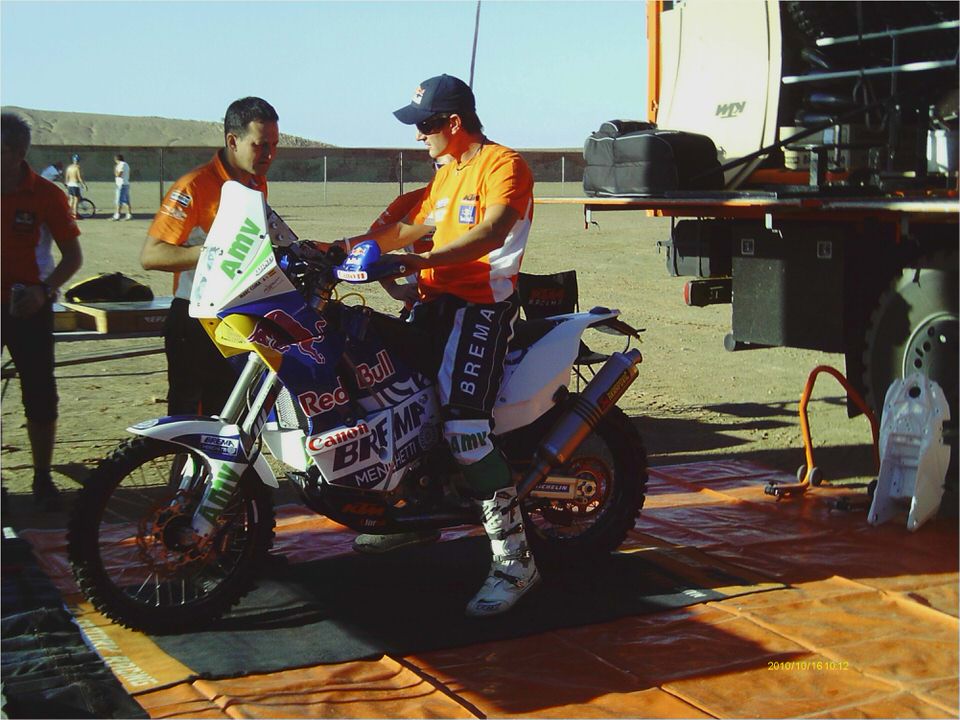
So I will need to take a spare bar riser, some duct tape and I will be fine. Never ran out of gas, no mechanical problems; just change the air filter (browncoal mines in Poland are pretty nasty BTW..) and check the oil level. Here you can see me in action during the Breslau 2010
- 2009 KTM 150 SX motorcycle review @ Top Speed
- 2009 KTM 450 and 505 SX, Two Stellar “Ready To Race” ATVs
- 250-SX-F
- KTM 125 Duke (2011-current) Motorbike Review MCN
- 2011 KTM 350 SX-F Review- 2011 KTM Motocross First Rides

