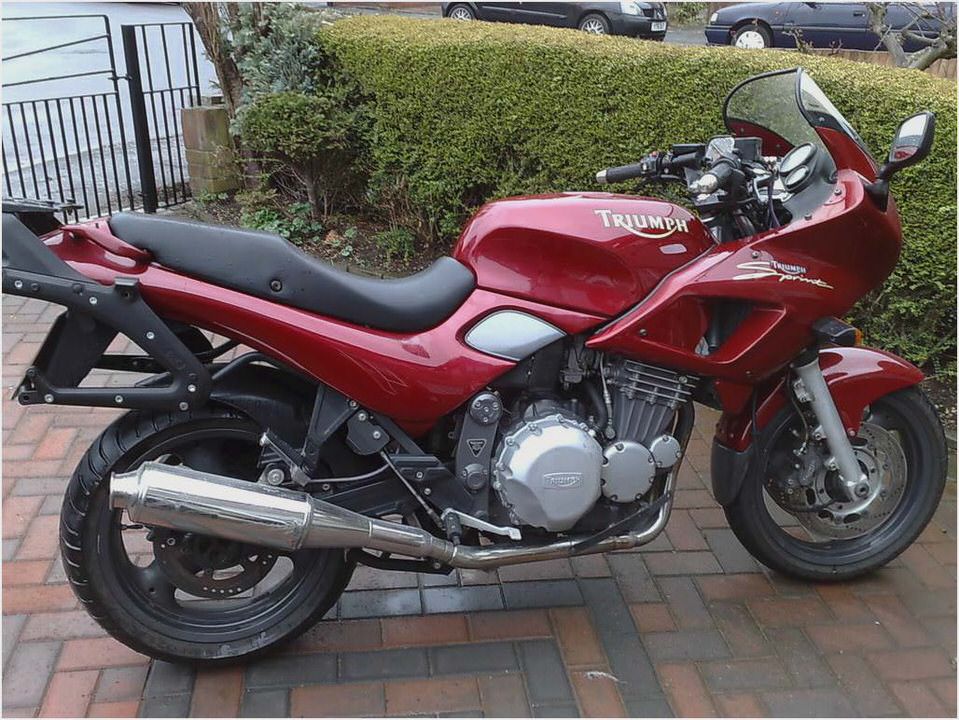
Triumph Thunderbird Sport Air Filter Change
by Rick K. for webBikeWorld.com
More:
Introduction
I’ve done a lot of motorcycle maintenance in my time, but replacing the air filter on my 1999 Triumph Thunderbird Sport probably ranks as one of the most frustrating mechanical experiences ever.
It even beats the wacko oil filter change on the oil-cooler equipped BMW R100RS, which involves radical contortions and special tools and took me 4 hours after I finally removed the right hand exhaust.
Something as simple and routine as an air filter change should not take more than, say, 1/2 hour? I can change the air filter on both my BMW Airheads in less than half that time.
So unless someone clues me in to the secret of the TBS air filter change, I’m going to rank it as one of the most bonehead engineering decisions that Hinckley-flavored Triumph has made on an otherwise very nicely designed motorcycle.
If anyone has any tips on making this job easier or can point out any mistakes I made, please feel free to send them to me at and I’ll add them to this article for the benefit of others.
Changing the Air Filter on the Thunderbird Sport
The problem is indicated by the yellow arrow in the photo above: the front airbox on the TBS is a one-piece, U-shaped design that wraps around the chassis backbone.
After scratching my head and trying everything I could think of, I could not figure out a way to get the airbox out from around the backbone without first removing the carburetors.
I guess Triumph had its reasons for this design, but it sure seems to this armchair engineer that there could have been several other ways to locate the air filter which would have made this job much easier.
For example, the right-hand side of the air filter chamber, indicated by the white arrow above, could have been designed as a separate piece with a couple of clips to unfasten a section of plastic and access the filter. Pop the clips, slide out the air filter, slide in a new one and you’re done.
Alternatively, the air filter could have been located in the rear airbox (pink arrow, photo left).
This area has the snout for the air intake (the air intake snout is located on the right side of the bike, in back of the battery and not visible in this photo).
This airbox is located under the seat and is easy to access.
Air flows in through the snout and into the primary airbox (pink arrow), then through the tube and gasket (red arrow) connecting the two airboxes.
It then flow into the front airbox (green arrow), and finally through the air filter, which lives at the intersection of the front airbox and the air filter chamber that attaches to the carbs. The tip of the green arrow indicates the location of the air filter.
To make things more confusing, the routine maintenance section of the Haynes manual refers the reader to chapter 4 for airbox removal. Chapter 4, section 16 of the Haynes manual details removing the airbox but never says that the carbs have to be removed first.
I suppose an argument could be made that Haynes steps you through removing the carbs in the beginning of chapter 4, so by time you get to section 16 the carbs should already be out. I sure missed this the first time around.
I’m probably ranting here, but I would think that since you may have arrived at section 16 in chapter 4 from the routine maintenance section with only a desire to replace the air filter and not remove the carbs, that at least Haynes should have mentioned that you’ll need to remove the carbs before you can remove the airbox.
I spent a lot of time and effort wondering why I couldn’t get the airbox out by following the Haynes instructions, until I realized that the carbs have to come out first. Maybe I’m a bit slow on the pick-up, but hopefully this will save someone else a headache.
By the way, besides a set of long hex wrenches or hex bits, a long screwdriver and a 10mm socket or wrench (to remove the fuel tank bolts), you’ll need size T25 and T30 Torx bits to do this job.
You’ll need to really reach in there to loosen the carb hose clamps, so it definitely helps if you have the screwdriver bits, the hex bits and the Torx bits all ready to use on a long-handled bit driver. See our Wiha bit driver review. which is an excellent tool for this job (no connection with Wiha other than a satisfied user).
BUY YOUR
With This Link and Help Support web BikeWorld !
Removing the Fuel Tank
Anyway, you’ll first have to remove the fuel tank (see the w BW article on Thunderbird Sport coolant changes for instructions on how to do this).
Make sure the carbs are drained before you start this job; you can do this by closing the fuel tap and running the engine until it’s out of gas before you remove the fuel tank.
Be really careful during this project, as you’re likely to spill some fuel here or there.
You’ll need to remove the chrome air filter trim on each side of the TBS and also the black plastic fluted covers.
Follow the Haynes manual for how-to’s (Chapter 4) on this and you should be ok.
The primary (rear) airbox under the seat has to come out. To do this, you’ll have to first remove the left side battery cover. This rear airbox is attached at the bottom by the same 5mm hex screw that holds the side cover.
The airbox is held on top by a Torx screw that threads directly into the soft plastic of the airbox (another strange piece of engineering).
The airbox hangs on a frame-mounted pin that I’m pointing to in the photo. You have to pull the airbox towards you to get it off this pin. I had a lot of trouble with this pin when I was putting things back together, as we’ll see below.
By the way, Haynes suggests removing the seat lock, which is attached to this rear airbox, but I didn’t find this to be necessary. The Triumph shop manual advises removing the horn and the cables from the carburetors. I didn’t do either of these and don’t think it’s necessary.
Also — there are two vent hoses that come out of the carbs; make sure you remember how these are routed over the top of the airbox and chassis spine. I believe these hoses allow the chambers on top of the carb diaphragms to equalize with external air pressure. I don’t think it’s that important where the vent hoses hang, as long as they’re not pinched.
BUY YOUR
With This Link and Help Support web BikeWorld !
Getting Deeper.
Once you get the rear airbox off (a relatively easy task), you’ll have to loosen all the hose clamps that attach: 1) the secondary airbox to the carbs (3mm hex); 2) the hose clamps that attach the rubber hose to the front of the carbs (screwdriver) and; 3) the hose clamps that attach the hose to the engine (screwdriver) intake tubes
All of these hose clamps are indicated by the yellow arrows in the photo left.
Hopefully whomever did this the last time located the screws for the clamps on the middle carb in a place that allows you to reach them!
Once you get all the hose clamps loosened, it’s fairly easy (or was, at least on my bike) to pull the U-shaped airbox back and separate it from the air filter chamber.
This provides a tiny bit of wiggle room to rock the carburetor rack back and forth to loosen the carbs from the short lengths of hose that run between the air filter chamber and the intake tubes.
It’s a real pain to get the three short hose sections out from in between the carbs and the engine’s intake. It’s a matter of pulling, pushing, cursing, resting and trying it again until they come out.
Note that the hoses that fit between the carbs and the engine intake tubes are a one-way fit. The end that attaches to the airbox and the end that attaches to the intake tube is different. The hoses are wider at the top than at the bottom to locate the carbs correctly.
Make note of how the hoses are located before you rip them out.
Once you have the carb rack loose, you can then remove the entire rack out the left side of the bike. I asked my wife to help out by holding the carbs off to the side while I then removed the breather hose from the bottom of the air filter chamber and finally slipped the air filter chamber and the U-shaped airbox out from the chassis.
Once you have the airboxes out you can lay the carb rack roughly back where it came from. Be careful not to bend or kink the choke or accelerator cables.
Again, the Haynes manual does a decent job of explaining everything in chapter 4. I suppose it would be a good practice to balance the carbs after they’re put back in; I didn’t do it this time and the bike seems to run fine, but I will balance them during the winter and I’ll write it up.
Airbox and Air Filter
Here’s a photo of the U-shaped airbox (upside-down) and the air filter. The yellow arrow points to the barely visible engine intake tubes where the hose attaches, and the pink arrow shows the carb rack laying in the chassis.
There are 10 Torx screws that hold the air filter chamber on to this U-shaped airbox.
Triumph claims that the air filter is not available separately and that the entire airbox assembly must be purchased.
This is strange, and I bet it’s because they don’t want you to know that you can probably get away with cleaning the existing foam filter, thus depriving them of some revenue.
Obviously, I was able to remove the Torx screws and access the filter without having to purchase the entire airbox assembly.
The previous owner told me he installed a KN air filter, but this air filter isn’t a KN, so I don’t know what he meant. TBS riders tell me this is the Triumph stock filter.
It’s a foam filter, not paper, and although Triumph recommends replacing it and the entire airbox chamber (not sure why), by time I got this far the Triumph dealer wouldn’t be open for a couple of days, so I washed the filter with dishwashing liquid and gave it a light coat of oil and put it back in.
Other than some grass and dust, it was in pretty good shape, so I figured I’d be ok.
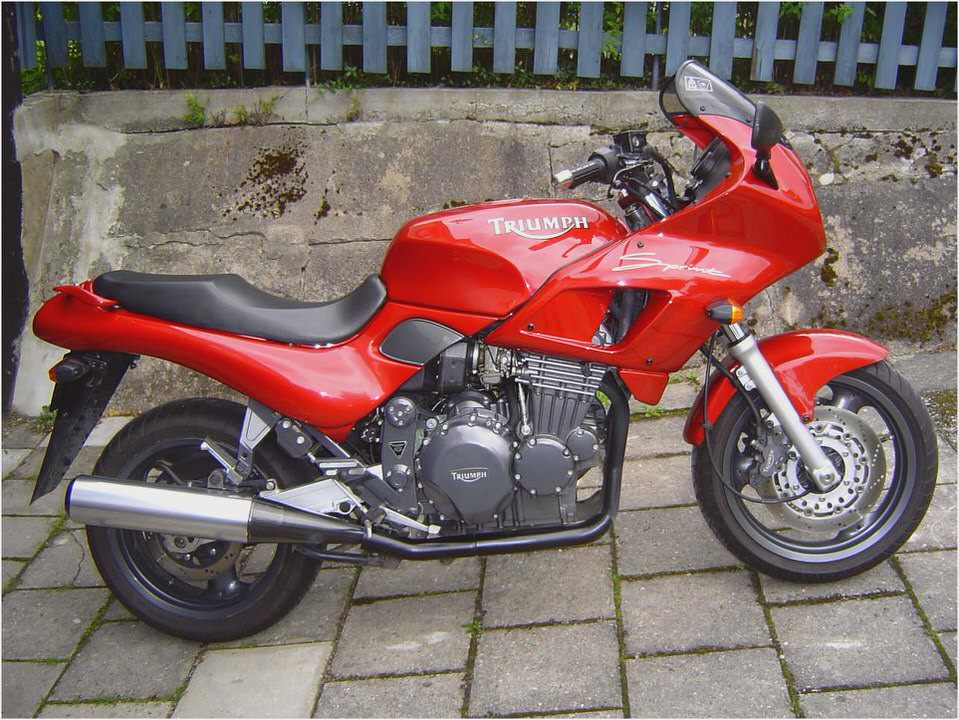
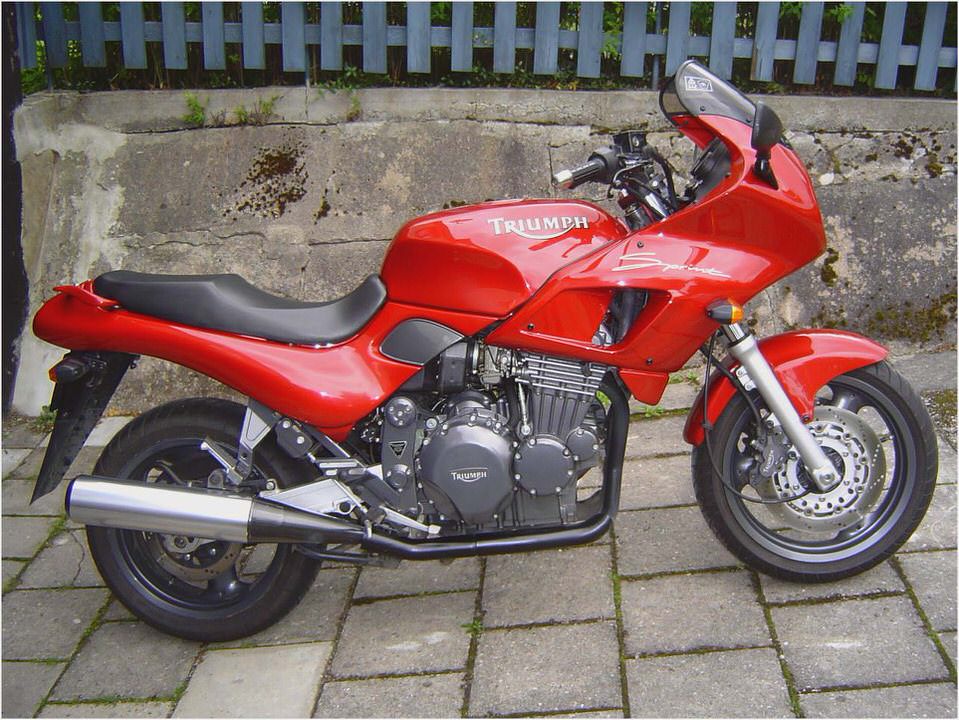
You probably think I’m nuts to go through all this and then put the old filter back in, but I honestly thought this would be a 1/2 hour job and that I could see how everything came apart and then put it back together and ride over to the dealer to get a new filter, then come back and do it again and record it for posterity.
I’m not sure what the white stuff is — it appeared to be some silicone sealant that was only placed on the bottom lip of the box. I don’t know why it’s there or who put it there. I didn’t replace it, and the box seemed to seal up fine.
After I got everything back together (reverse order), I started up the bike and gave it the old contact cleaner test.
I sprayed some contact cleaner around all the potential cracks in the box and the around where the hoses meet the airbox and engine to see if the idle changed or if there was any smoke from the exhaust. If so, it’s a good indication that there’s a leak. This is a dangerous test, so be careful and do it in a well-vented area.
There’s a chance of fire, so do it at your own risk. Don’t use any flammable sprays or anything that could harm plastic, paint or rubber. I didn’t notice any leakage.
BUY YOUR
Arai – HJC – Icon – Joe Rocket – Scorpion – Shoei – More!
With This Link and Help Support web BikeWorld !
Reassembling the Airbox
Putting everything back together was just as much of a pain (or more) as getting it apart. I struggled for a considerable amount of time to get the hoses and clamps and carburetors located in the correct orientation and to get everything buttoned back up. Again, it’s a matter of brute force and patience.
I strongly recommend taking several long breaks during this job, as your patience will be severely tested, and it pays to come at it with a fresh approach now and then.
Why it should be so difficult just to replace an air filter is beyond me.
Make sure the hoses and clamps are located correctly; that the hoses aren’t pinched; and that the hose clamps will do their job of sealing everything up.
After I got the carbs back in and the U-shaped airbox buttoned up, I had a lot of trouble getting the rear airbox correctly lined up in the frame. It had obviously been brute-forced in place at the factory, and now I couldn’t (wouldn’t) use the same force to get everything back together.
There’s a tab that’s welded on to the TBS’s frame up top that locates the Torx screw mentioned earlier that screws directly into the top of the plastic airbox.
That tab apparently was welded out of location on my bike, because it was impossible to line up the screw that goes through that tab, the pin that holds the airbox (mentioned earlier), the hex screw on the bottom of the airbox that also holds the left side battery cover and the two snouts (shown in the out-of-focus photo above, sorry!).
These two snouts were too long and interfered with each other and were causing the misalignment problem. I ended up trimming them back with a Dremel to get everything to fit correctly. Before I put the hose and clamps back on I took this photo to show that they are still out of alignment, but they are now much better than before.
I bet there’s a potential for a loss of horsepower on my bike because the air can’t get cleanly through from one airbox to another. If I didn’t know any better, I’d bet that Triumph found out late in the design of the TBS that the airboxes had to be re-engineered, possibly to meet noise regulations. The entire design of the airbox assemblies and the air filter seems to be not very well thought out.
Buy Posi-Lock Connectors!
So popular, they’re now on their own
Addendum: Right Side Cover Interference Solution
When I took off the right side cover at the beginning of this project, I noticed that it rubbed against the black plastic fluted trim section (photo left).
It was starting to scratch the paint, and this cover comes off much more frequently than the left side cover, so I was afraid that it would eventually rub off all the beautiful yellow paint.
The photo below shows the scratches in the paint (left photo). I had a few pieces of 3M Scotchcal around, so I installed a piece at the rub point to help protect the cover from any more damage.
Scotchcal is great stuff to have around. It’s a clear plastic sheet that is used to protect paint from chips. It’s used a lot in the automotive industry.
Scotchcal is very easy to install once you get the hang of it — just spray on a mixture of water and a touch of dishwashing liquid and slide the Scotchcal on like a decal.
Locate it in the correct spot and squeegee out the water and let it dry.
The photo on the right below shows the side cover now protected by the Scotchcal sheet. Scotchcal dries clear and you usually don’t know it’s there unless you look for it. It peels right off if necessary and doesn’t harm the paint, but it protects it from scratches.
I use it on all my bikes in areas where there may be stone chips or frequent rubbing from pants, jackets, zippers, etc. Here is a webBikeWorld search for Scotchcal with reviews that describe this material.
(L) Side cover before; note the scratches along the corner. (R) Side cover after the Scotchcal has been installed; note the scratches are now covered by the 3M Scotchcal (too late!).
Publication Date: 2005 (?)
- PH2: New Triumph Trophy 1200 – PistonHeads
- 2004 Triumph Speed Four Comparison – Motorcycle USA
- Triumph America India, Price, Review, Details, Specifications
- 2001 Triumph TT600
- Triumph Thruxton 900 –
